A picture speaks 1000 words. Won’t emojis? Emoji speaks emotions.

1. Use Mac’s Emoji selector
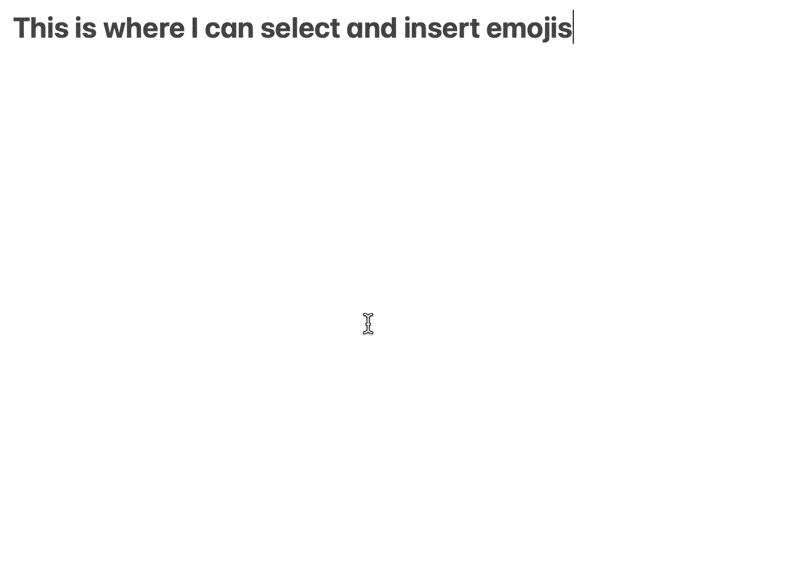
Keep the cursor at the point where you want to insert the emoji.
Now, press Ctrl + Cmd + SpaceBar at the same time to invoke the emoji selector.
Search for the emoji. Just press enter to insert the selected emoji.
2. Use “Rocket” – Type your emojis
Rocket is an app to insert emojis while typing (like Slack, Notion style).
Download Rocket. (Free)
Install it on your Mac.
Now just start typing your emoji with the prefix “:”.
🎉
I just typed :tada and pressed enter to insert the above emoji.

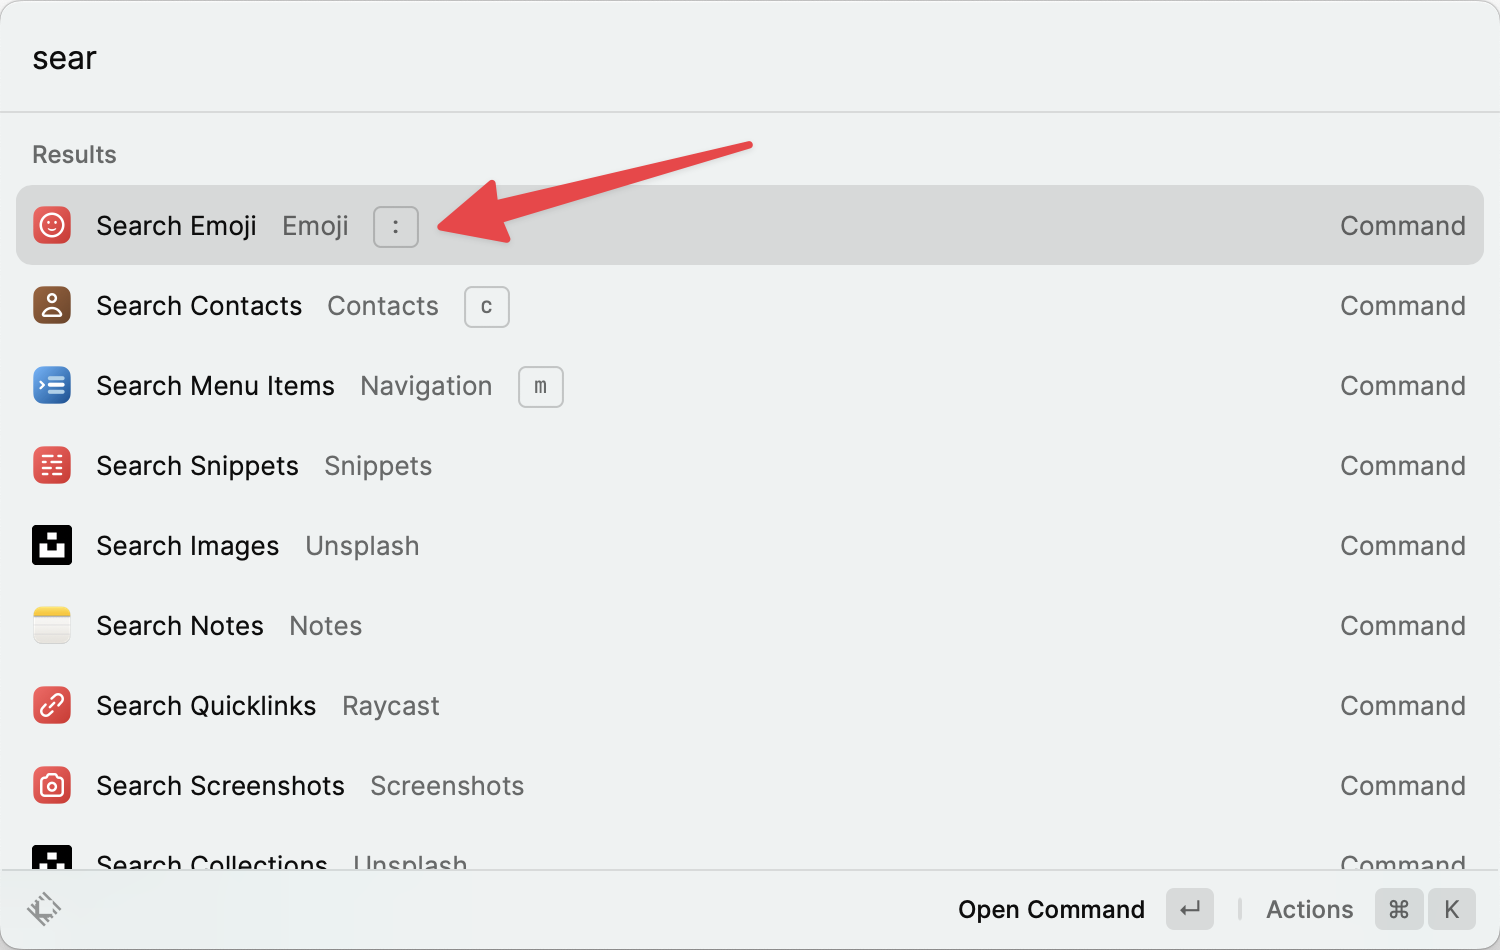
3. Use RayCast – A ‘Spotlight’ alternative
This step is only for those who using RayCast (in the place of Apple’s Spotlight search). If not try it.
Download RayCast. (Free)
Assuming RayCast is already installed on your Mac.
Go to its ‘Preference’
Go to ‘Extensions’

Search for ‘emoji’ and ✅ select it as shown in the above screenshot.
Now the setup is ready to use.
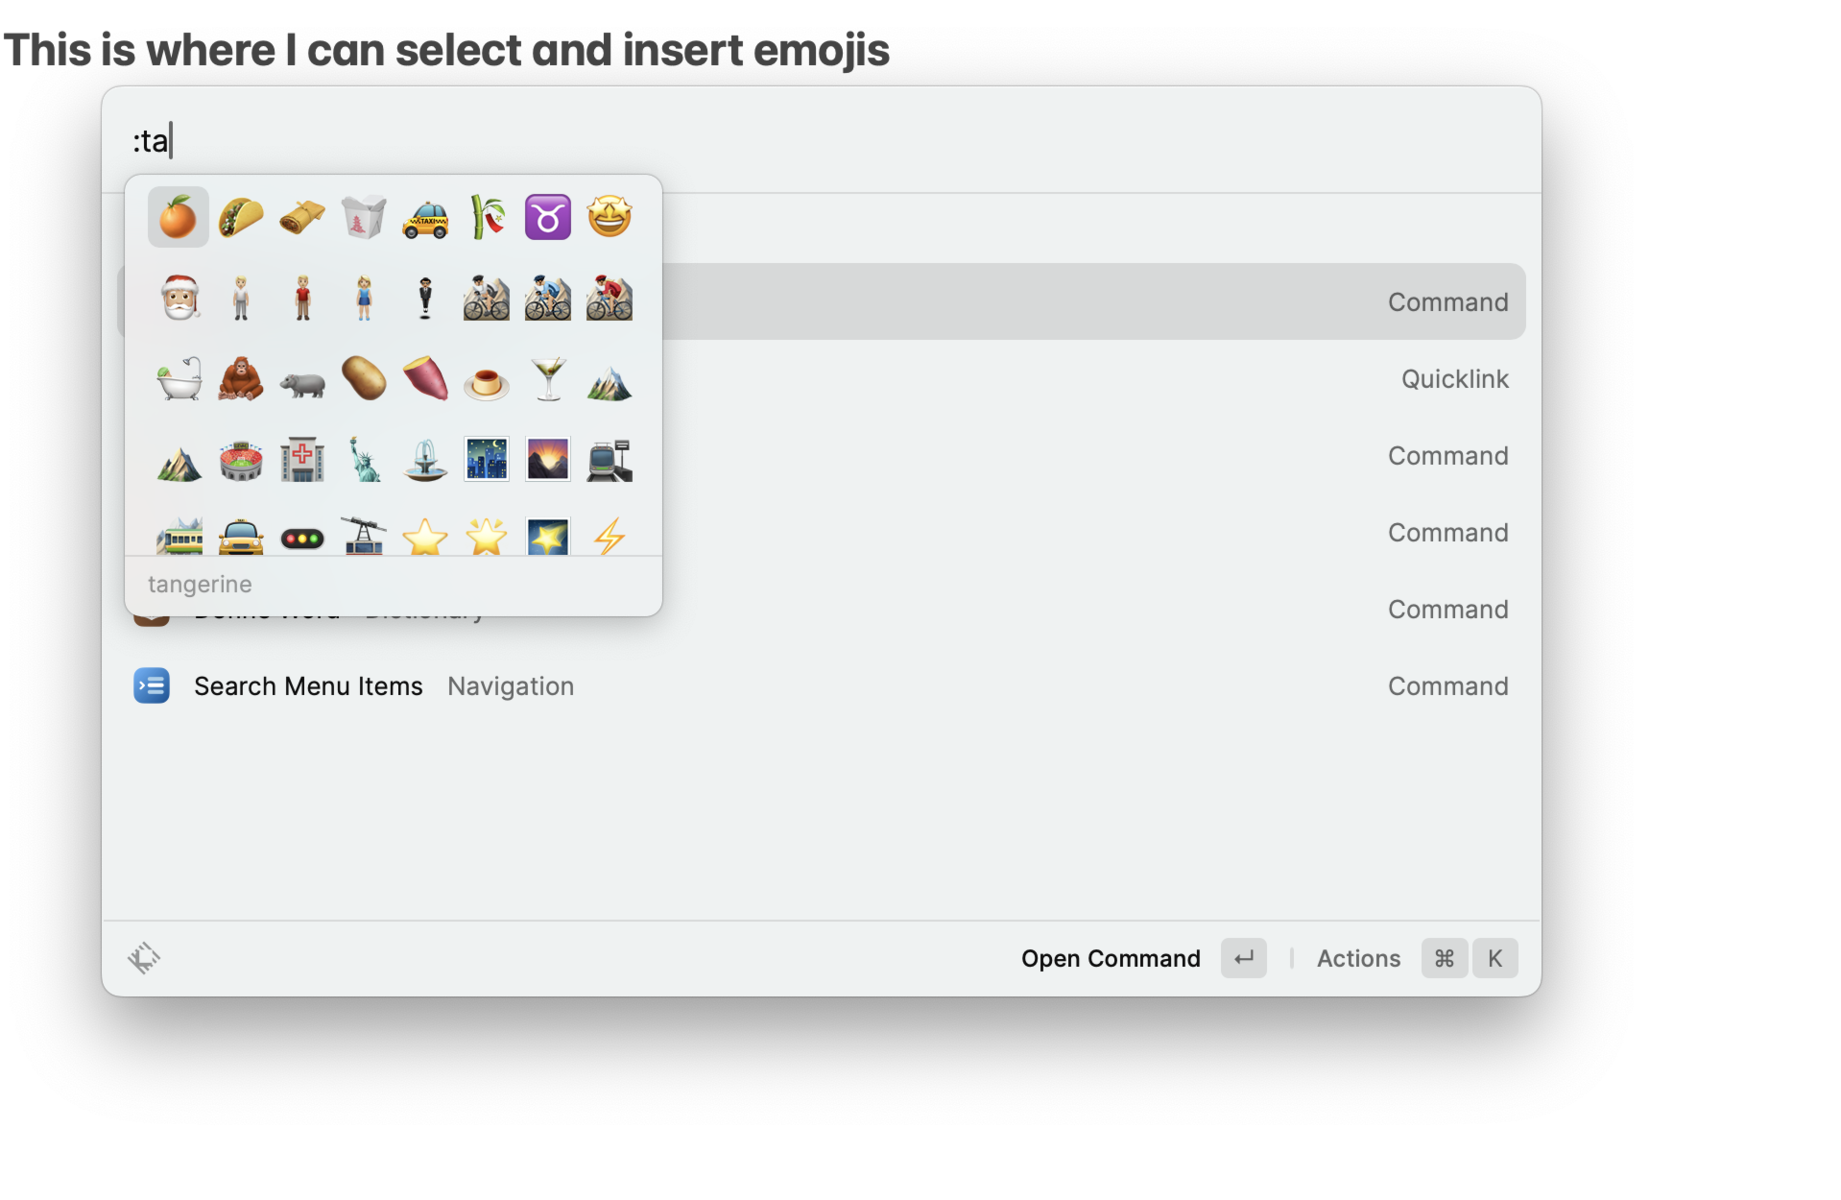
Wherever you want to insert the emoji, place the cursor there, then press the shortcut to invoke RayCast. In my case, it is Cmd + Space. (You can change the shortcut in RayCast Preference.)
Now type emoji in the RayCast search box. Select the option ‘search emoji’. And then search for your emoji by typing it.
But the easiest way is to search with the prefix :.
Just invoke RayCast, Start typing your emoji name with “:” as a prefix. Eg. :tada. Now press enter/return key to insert the selected emoji.
That’s easy and all. See you till next time.